lesson 01
Overview
This lesson walks through the editor, the structure of a scene, and how to go from writing code to exporting or presenting your work.
The Editor
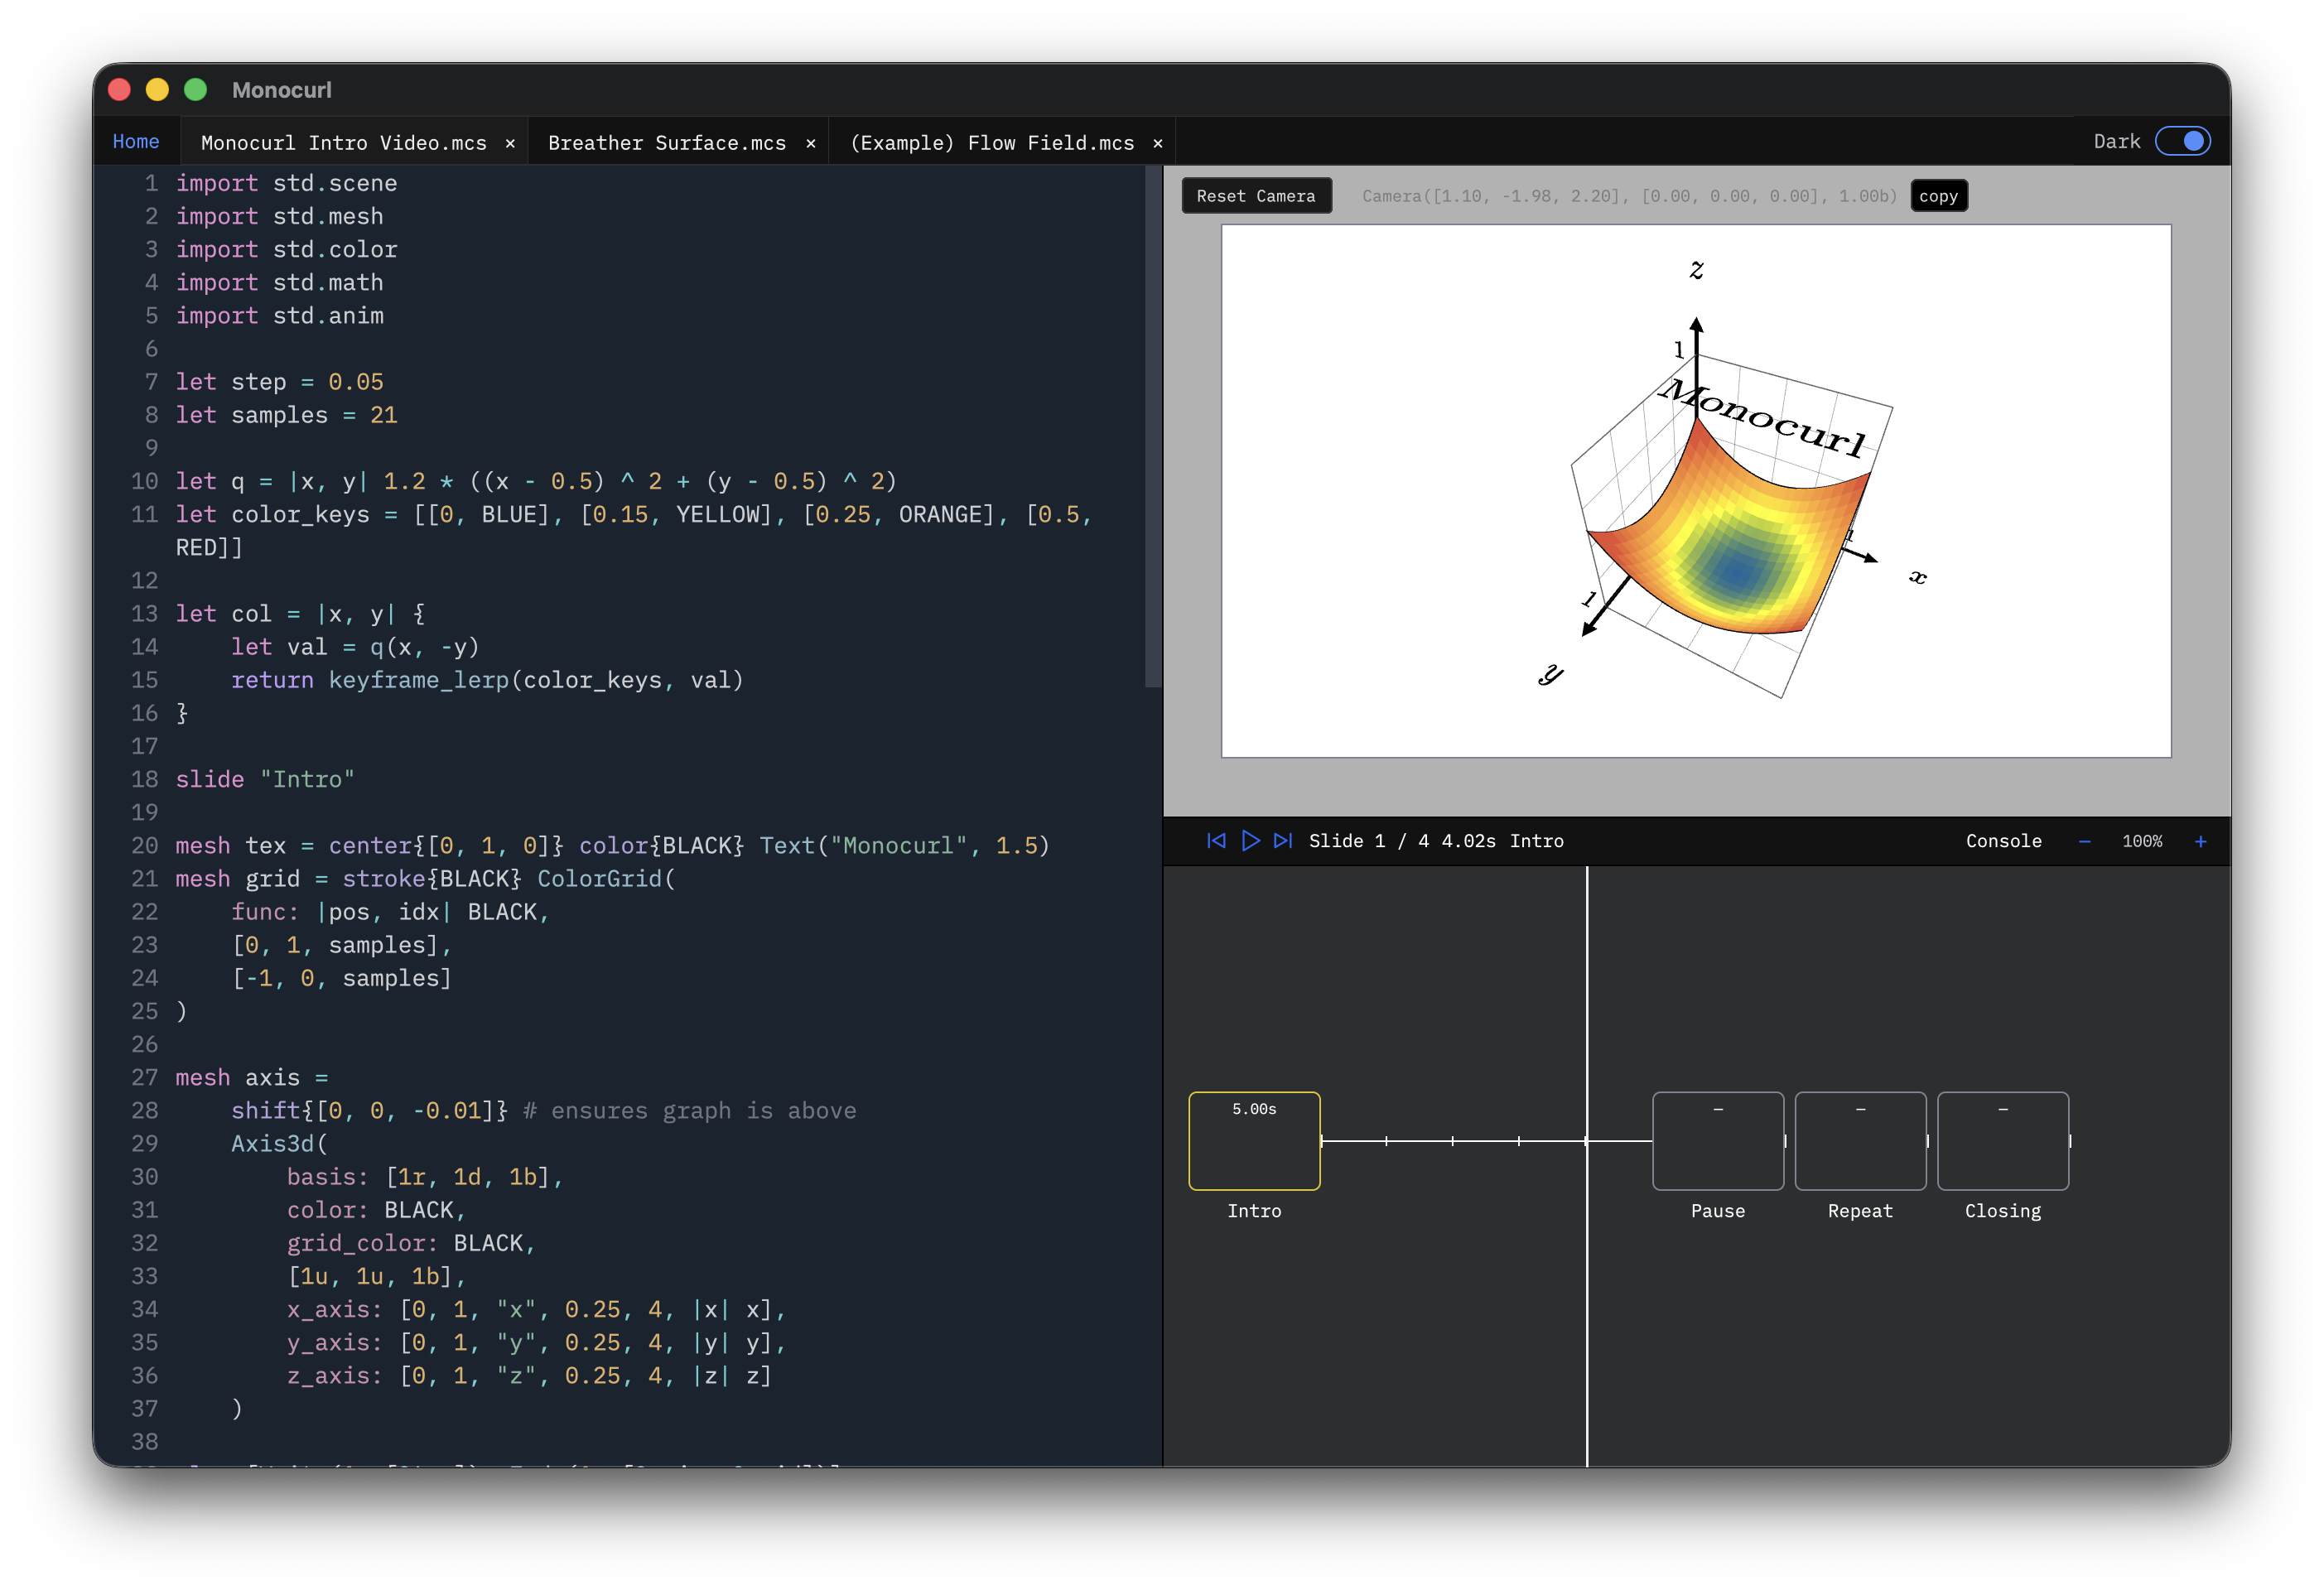
The editor has three working surfaces:
- Source editor (left) — where you write
.mcsscene files - Viewport (top right) — shows the rendered frame at the current timeline position
- Timeline (bottom right) — scrubs through slides and the individual
playsteps within each slide
When you edit code, Monocurl re-evaluates and the viewport preview updates according to the current position in the timeline.
Scene Structure
Every scene has three parts: imports, an init section, and slides. We omit imports in most examples for brevity.
# --- init section ---
# runs first; sets up helpers and the initial visible state
let soft = |col| lerp(WHITE, col, 0.22)
mesh dot = center{ORIGIN} fill{soft(CYAN)} stroke{CYAN, 2} Circle(0.4)
"intro"
# slide containing some animations
mesh title = center{0.8u} Text("Hello", 0.7)
play Write(0.9)
dot = center{1.2r} fill{soft(ORANGE)} stroke{ORANGE, 2} Circle(0.5)
play Lerp(1.2)Code before the first slide is init. This is where imports live, alongside constants, helper functions, and the starting visible state. After the first slide keyword, code belongs to that slide and can contain play animations.
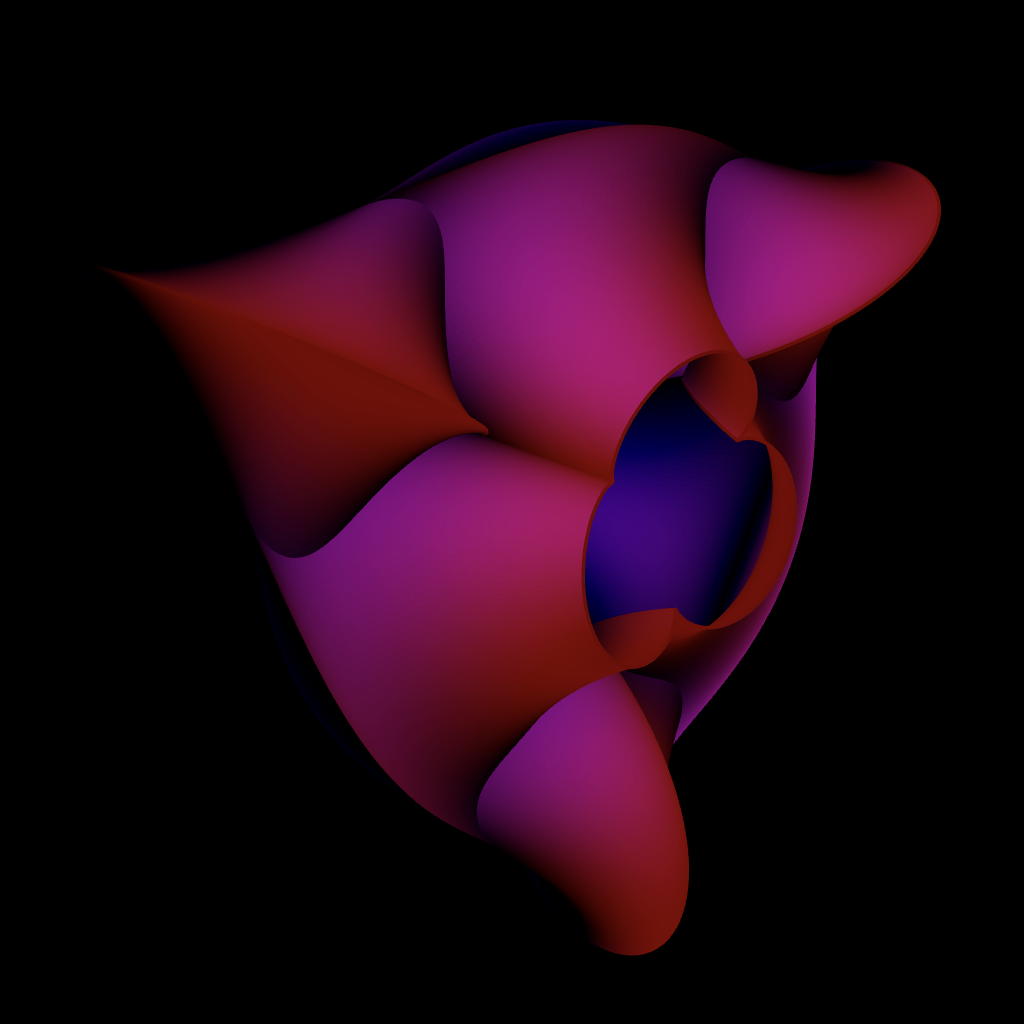
A First Scene
Here is a complete small scene. The pattern is: set up certain helpers in init, then in each slide mutate scene state in a continuous way via play animations.
"intro"
mesh circle =
center{pos: 1.4l}
color{col: BLUE}
Circle(0.4)
mesh label =
center{pos:1.4l + 0.75d}
Text(text: "hello", 0.65)
# introduce the newly created meshes in an animated fashion
play [Write(0.9, [&label]), Fade(0.9, [&circle])]
"transform"
circle.pos = 1.4r
circle.col = ORANGE
label.pos = 1.4r + 0.75d
label.text = "world"
# transform both meshes into new state
play Trans(1.2)Timeline Navigation
For fine grained control, you can click to seek. But in general, use the keyboard to move through your scene:
,/.— previous / next slide</>— jump to scene start / end;/'— small step backward / forward
A useful habit while authoring is to scrub the timeline after adding a new slide to verify that each play step does what you intended.
Presenting And Exporting
The same .mcs source file can be used in three ways:
- Video export — File menu → Export Video. Renders the full scene as an
.mp4. - Image export — File menu → Export Image. Renders a single frame as a
.png. - Presentation mode —
Cmd/Ctrl-P. Turns slides into navigation checkpoints, pausing at eachslideboundary.
Interactive Workflow
In presentation mode, Cmd/Ctrl-T opens the parameters panel where you can edit some of the scene state with sliders. This is more advanced / niche but can be powerful.
In preview and presentation mode, you can drag the cursor to move the camera. If you press shift and drag the cursor, you can pan the camera. These are especially helpful for building 3d scenes.
Monocurl On The Web
Monocurl Essays demonstrates how Monocurl scenes can run directly on the web. The underlying runtime is also available as an NPM package.